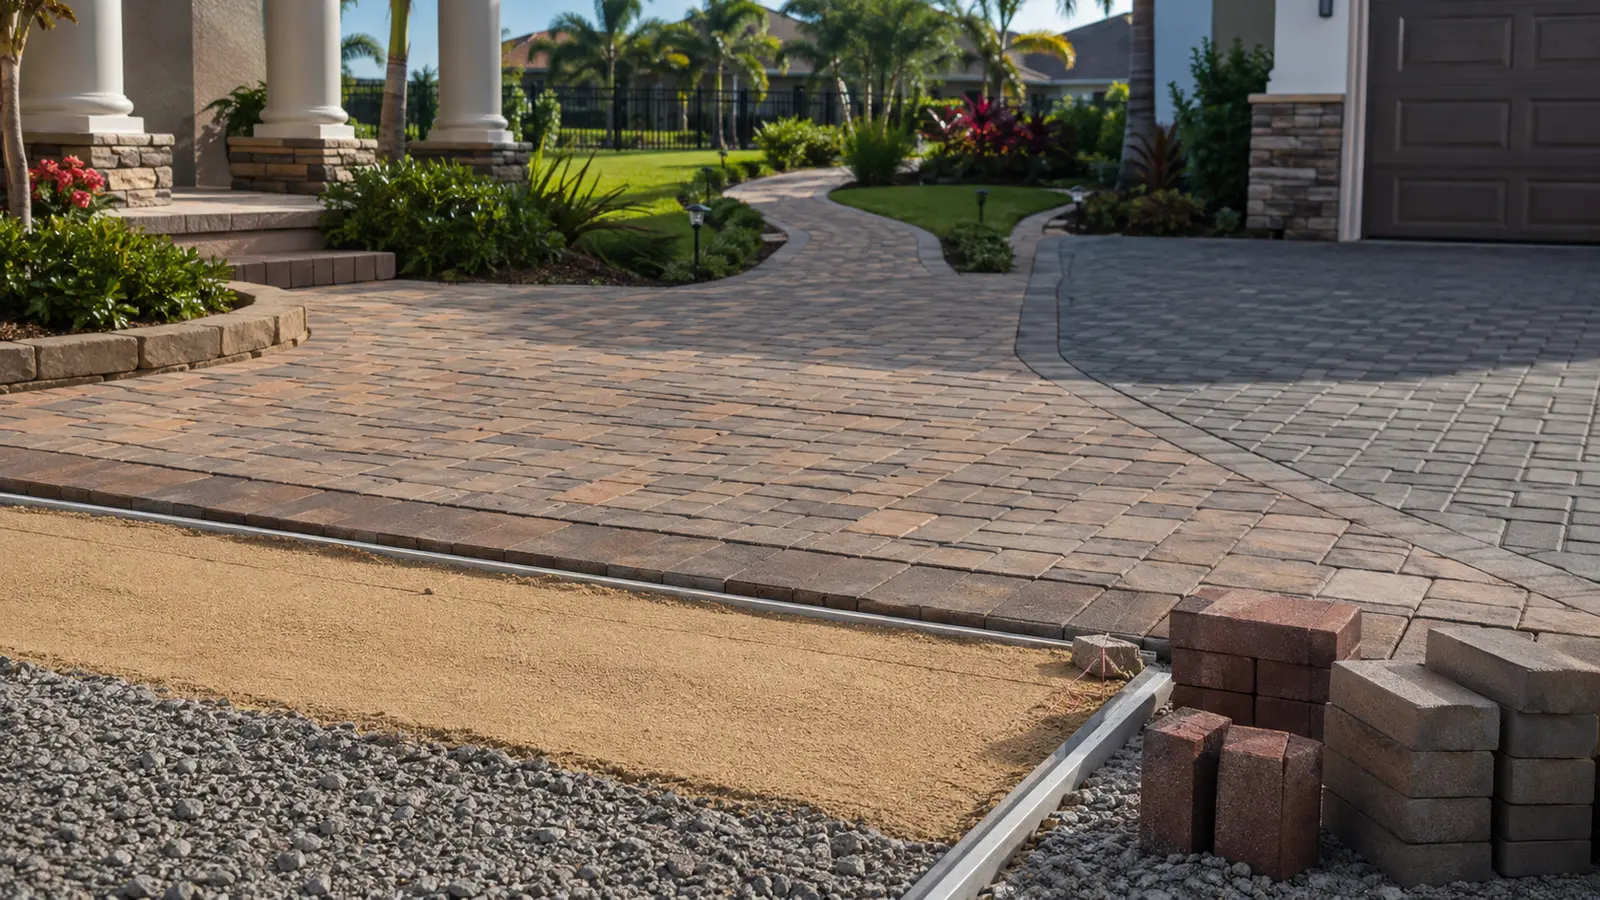
Installing pavers successfully is a sequence of preparation decisions, not simply the act of placing units on sand. The finished patio, walkway, driveway, or pool deck depends on the subgrade, compacted base, bedding layer, edge restraint, drainage, joint material, and final inspection. This guide explains the sequence so a do-it-yourself homeowner or hardscape professional can plan the work, recognize risk points, and know when the site is ready for cleaning and sealing.
1. Plan the use, layout, and drainage
Start by drawing the area and identifying fixed points such as doors, steps, drains, walls, pool coping, property lines, and utility features. Measure the length and width, account for curves and cuts, and decide where water should go. A surface that looks level can still drain when it has a deliberate slope. Confirm local requirements for excavation, setbacks, driveway work, and stormwater before breaking ground.
- Use full-size pavers where possible and reserve cuts for edges and transitions.
- Keep finished elevations below doors, vents, and weep points so water cannot be directed toward the structure.
- Plan the joint pattern before ordering material; the pattern affects waste, cuts, and visual alignment.
- Choose edge restraints that match the load and the appearance of the project.
2. Select the paver and calculate the system depth
Concrete, brick, travertine, and other stone pavers differ in thickness, absorption, texture, and maintenance. Use the concrete-paver guide and the brick-versus-concrete comparison when the project is still in the selection stage. The total excavation depth must include the paver thickness, bedding material, compacted base, and any additional drainage or reinforcement required by the soil and intended traffic.
3. Excavate to firm, drainable soil
Remove organic soil, roots, loose fill, and unstable material. Excavation should follow the planned slope rather than creating a flat hole and trying to correct drainage later. Soft pockets should be removed and replaced with suitable compactable material. Do not bury a weak area under aggregate; the movement will eventually appear at the finished surface as settlement, rocking pavers, or open joints.
Compact the exposed subgrade where conditions allow, and keep heavy equipment from disturbing the prepared surface. If the soil is saturated, stop and address the water source. The paver base-material guide explains why drainage and lift-by-lift compaction matter more than simply adding extra sand.
4. Install and compact the base in lifts
Place the specified base aggregate in manageable lifts rather than spreading one deep layer and hoping the compactor reaches the bottom. Keep the planned slope through every lift. Compact each layer until it is stable, then verify elevation with a straightedge, string line, or laser. The base should support the entire field and remain consistent at the edges, where thin sections and poor restraint commonly create failures.
- Use clean, angular aggregate appropriate for the application and local conditions.
- Correct low areas with compactable material instead of thickening the bedding sand.
- Confirm that drains and transitions remain at the intended elevation.
- Check the surface for movement before placing the bedding layer.
5. Screed the bedding layer
The bedding layer is for setting the pavers, not for compensating for an uneven base. Install the specified bedding material over the compacted base and screed it to a consistent depth using rails or guides. Do not walk through the finished screeded area or add handfuls of sand below individual pavers after laying begins. If the grade is wrong, repair the layer before setting the surface.
6. Lay the pavers and control alignment
Begin from a stable straight edge or a fixed reference line. Set units carefully without dragging them across the bedding layer. Check joint width, pattern, elevation, and alignment as the field grows. A small deviation at the first few rows can become a large problem at the opposite edge. Use a mallet and appropriate compaction method to seat units without damaging corners or creating a low spot.
Cut edge units with equipment that produces a clean, controlled cut. Avoid narrow slivers that can rotate or fall out. Install edge restraints after the field is aligned and confirm that the restraint is anchored to the supporting layers rather than only to loose bedding material.
7. Fill joints with the correct material
Joint material should match the paver system, joint width, drainage, and maintenance plan. Sweep it into clean, dry joints and follow the installation requirements for the selected product. The joint-sand guide explains the difference between ordinary joint sand and stabilized or polymeric systems. Remove excess material from the paver face before activating a joint product or applying a sealer.
8. Compact, clean, and inspect before protection
Use the compaction method recommended for the paver and surface. Inspect for chipped units, rocking pieces, inconsistent joints, residue, and drainage problems. Clean the surface with a compatible method and let the pavers and joints dry as required. The paver cleaning and preparation guide covers stain treatment, washing, drying, and pre-sealer inspection.
9. Seal only after the system passes inspection
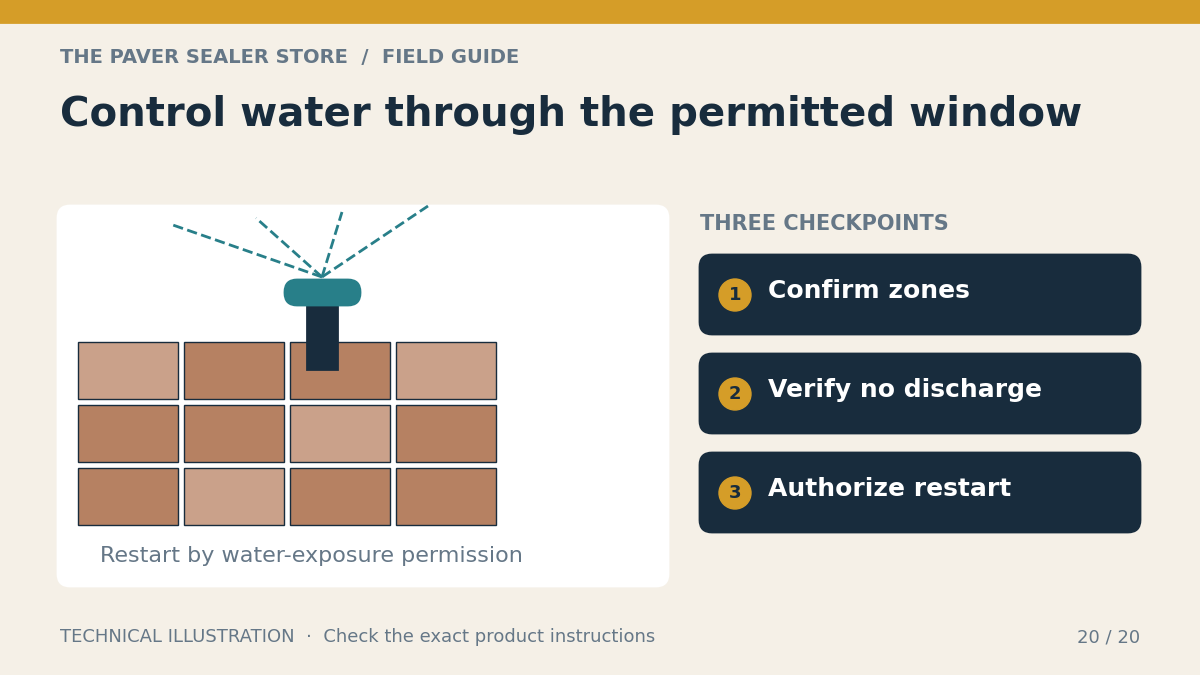
Sealing is a final protection and appearance decision, not an installation shortcut. Confirm that the surface is clean, compatible, and dry, then test the expected finish in an inconspicuous area. Use the paver-sealer selection guide to compare natural-look, wet-look, and high-gloss approaches. Follow the product’s coverage, weather, and cure requirements, maintain a wet edge, and protect surrounding materials from overspray or runoff.
Common installation failures to catch early
Most avoidable failures can be found before the final joint material is installed. A straightedge reveals dips, a string line reveals grade changes, and a simple walk across the field reveals rocking units. Stop and correct the cause while the affected layer is accessible. Covering a problem with more sand, a thicker sealer, or a decorative border generally makes the eventual repair more expensive.
- Settlement: usually points to weak subgrade, poor lift compaction, or an uncorrected soft pocket.
- Open or washed joints: may result from inadequate joint depth, poor activation, drainage, or cleaning pressure.
- Spreading edges: indicate insufficient restraint or a restraint anchored into unstable material.
- Uneven color: can be caused by mixed batches, contamination, moisture differences, or an untested sealer.
- Standing water: must be corrected by grade or drainage work, not by adding coating.
For a project over a sound concrete slab, use the dedicated pavers-over-concrete guide. The existing slab changes the available height and drainage assumptions, so it should not be treated like ordinary soil excavation.
10. Document the work for future maintenance
Record the paver type, joint material, sealer, application date, test-panel result, and areas that need special care. Routine sweeping, drainage checks, stain response, joint inspection, and condition-based resealing are easier when the installation history is known. Use the annual maintenance checklist to turn the finished project into a manageable long-term plan.