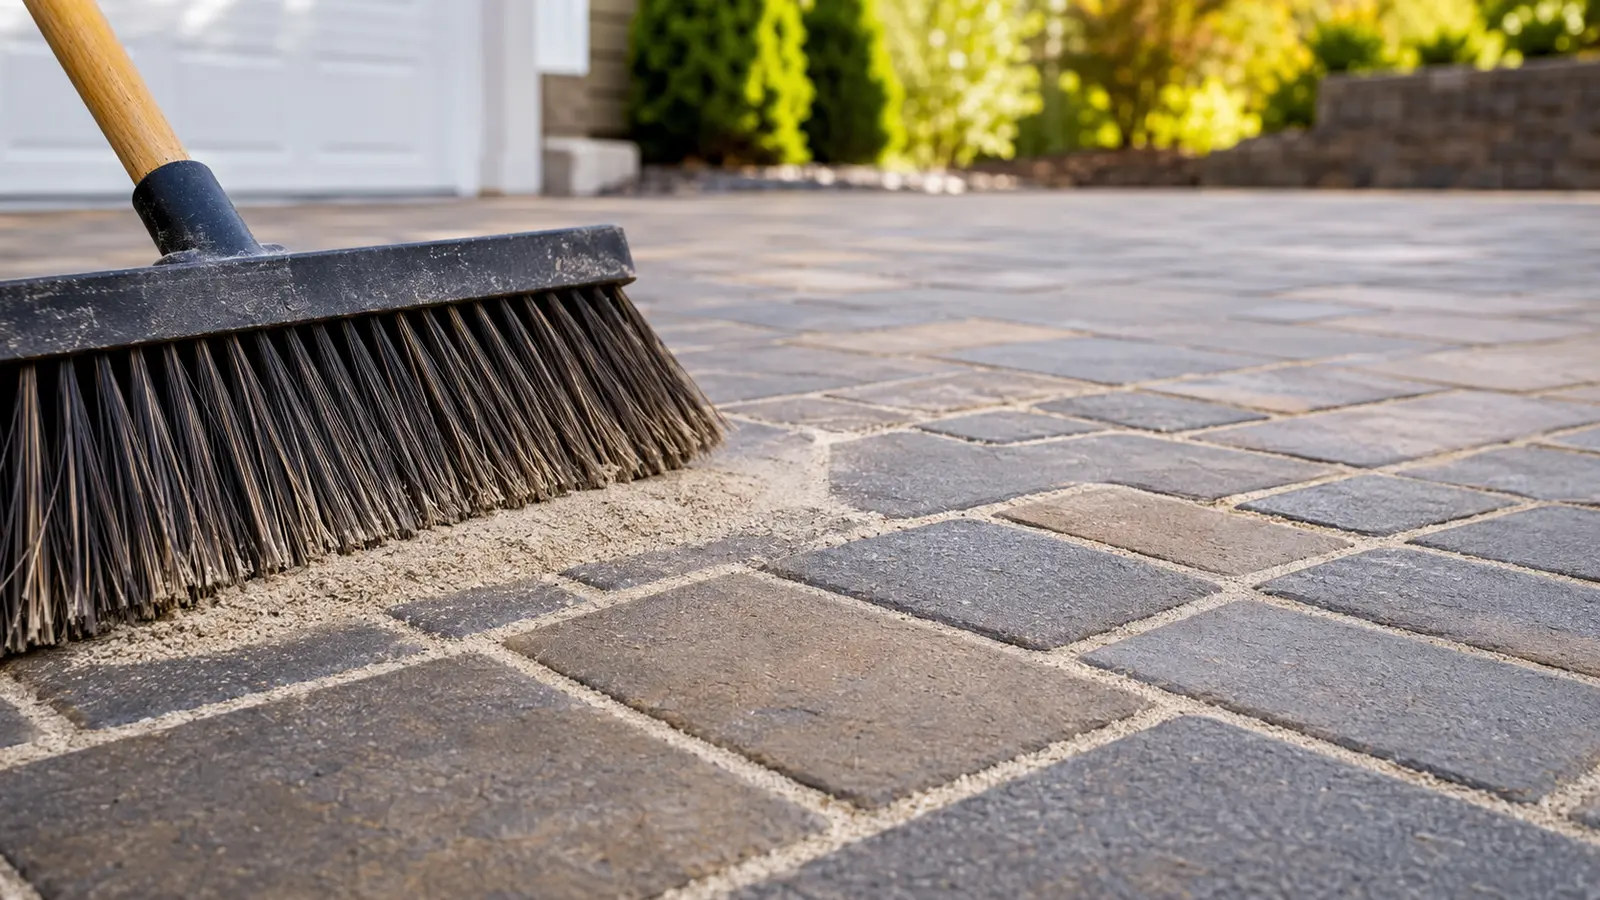
The right paver joint sand must fit the joint width, paver type, drainage, traffic and sealing plan. Color is secondary. A sand that looks appropriate in the bag can wash out, crust at the surface or interfere with sealer when its particle shape, gradation, binder or installation sequence does not match the project. This guide explains the main joint-material choices and how to select one for a stable, sealable paver system.
What makes paver joint sand different?
Interlocking-paver joints are narrow spaces that experience vibration, water flow, cleaning pressure, thermal movement and repeated traffic. Good joint material must enter those spaces, compact consistently and remain compatible with the way the surface will be maintained. Particle shape and size distribution determine how well ordinary joint sand interlocks. Polymeric products add a binder that changes the installation and curing process.
| Material | Best use to evaluate | Main limitation |
|---|---|---|
| Clean fractured angular joint sand | Projects using a compatible sand-stabilizing topical sealer | Requires correct joint depth and enough approved sealer penetration |
| Polymeric sand | Installations that need a water-activated binder and meet the product’s joint specifications | Dust removal, watering, drainage and cure are unforgiving |
| Washed concrete sand with suitable gradation | Some wider joints or contractor-specified systems | Must be checked for joint size, cleanliness and compaction behavior |
| Play sand or very fine rounded sand | Generally not the first choice for stabilized paver joints | Weak particle interlock, migration and washout risk |
| Stone screenings or bedding fines | Only where a system specifically calls for them | Can hold dust or moisture and may not be suitable as finish-joint material |
Six checks before selecting joint material
- Measure representative joints. Check narrow, wide, repaired and edge areas rather than one convenient location.
- Identify the paver and chamfer. Deep chamfers, tumbled edges and textured faces change the correct final sand level.
- Inspect the base and drainage. No joint product can correct a saturated base, missing restraint or moving pavers.
- Define traffic. Vehicle turning, commercial cleaning and pool-deck use impose different demands.
- Identify old material. Remaining polymer, sealer, soil or biological contamination can prevent a uniform refill.
- Choose the final coating system. The sand and sealer must approve the same installation sequence and moisture condition.
The complete workflow is covered in the guide to sealing pavers with sand. Decide the joint system before cleaning so the crew knows how much material must be removed and what condition the surface must reach before refill.
Fractured angular sand for sealer stabilization
Angular particles have edges that interlock more effectively than uniformly rounded grains. When the gradation fits the joint and the sand is clean, compacted and properly leveled, a compatible film-forming sealer can penetrate the upper joint and bind the particle structure. This approach is common on clean-and-seal projects where color enhancement and joint stabilization are both goals.
- Use clean material with a particle range appropriate for the actual joints.
- Fill to the system’s required depth instead of creating a thin surface layer.
- Compact and refill when the installation calls for it.
- Remove grains from paver faces, textures and chamfers before sealing.
- Apply the stabilizing coat within the manufacturer’s coverage range.
Ultra Seal Classic Gloss is a two-component, water-based urethane designed for wet-look color enhancement and joint-sand stabilization on compatible paver surfaces. Verify the current technical data for sand condition, mixing, application, coverage, weather and cure; the word “urethane” alone does not establish that another product follows the same process.
When polymeric sand is the better system
Polymeric sand contains fine aggregate and a binder that activates during controlled watering. It can create a stable joint without relying on sealer penetration, provided the joint dimensions, base drainage, weather and watering procedure meet the product requirements. It is not simply ordinary sand with sealer added later.
Polymeric material deserves special attention on dense pavers, natural stone, slopes, wide joints, moisture-sensitive areas and any surface that will later receive a topical coating. Residual dust can haze the surface, overwatering can move binder, under-watering can leave unactivated depth, and premature sealing can trap moisture. Use the polymeric sand guide for the complete decision and installation sequence.
Joint depth, compaction and final height
Stable joints require volume. New material placed only across the visible top can form a shallow cap over loose, dirty or empty space. During restoration, remove enough failed material to make the refill meaningful, then compact according to the paver and joint-product instructions. Refill after compaction because the first pass often settles below the intended level.
The final height normally stays below the paver surface and respects the chamfer. Sand left on the face becomes a coating contaminant; sand left too low gives water, debris and movement more room to work. Because profiles vary, the product instructions and a test section should control the exact level.
Match sand choice to the surface
| Project condition | Selection priority | Question to answer |
|---|---|---|
| Vehicle driveway | Compaction, joint support and resistance to cleaning or runoff | Will turning traffic or edge movement reopen the joints? |
| Pool deck | Drainage, wet traction and clean surface installation | Can dust and binder be removed without staining coping or stone? |
| Previously sealed pavers | Removal of contaminated sand and coating compatibility | Is old film bridging the joints or preventing penetration? |
| Natural stone | Stain testing and manufacturer approval | Will fines, binder or topical sealer change the stone? |
| Wide or irregular joints | Approved joint-width range and depth | Does the material support the largest actual joints? |
Mistakes that shorten joint life
- Choosing by price or color only: neither proves that the gradation or binder fits the joint.
- Leaving soil in the joints: new material cannot compact uniformly over roots, organics and mud.
- Skipping compaction: apparent full joints can settle after the first rain or traffic.
- Using sealer to fill empty depth: excess coating is not a structural joint material.
- Ignoring drainage: concentrated runoff can erode even a well-installed joint.
- Mixing incompatible systems: polymeric binders and topical sealers each have cure and moisture requirements.
Paver joint sand FAQ
What is the best sand for paver joints?
The best material is the one approved for the joint width, paver, traffic, drainage and sealing plan. Clean fractured angular sand is often used with a compatible stabilizing sealer. Polymeric sand may be better when its binder-based system and cure can be installed correctly.
Does joint sand stop weeds?
Full, stable joints inhibit many growth opportunities, but weeds can germinate in windblown soil on top of the surface. Edge gaps, movement and neglected organic debris still require maintenance.
Can new sand be swept over old sand?
Only when the remaining material is clean, compatible, stable and deep enough for the specified system. Restoration projects commonly require removal of loose, contaminated or failed material before refill.
Should joint sand be wet before sealing?
Follow the selected products. Polymeric sand has a controlled activation and cure procedure. Some sealers require dry sand and pavers; Ultra Seal Classic Gloss is designed for properly prepared damp pavers. Damp does not mean saturated or covered with standing water.
Select the joint material as part of the complete coating system. Measure the joints, correct movement and drainage, test the surface, and compare the current sealing products before installation.