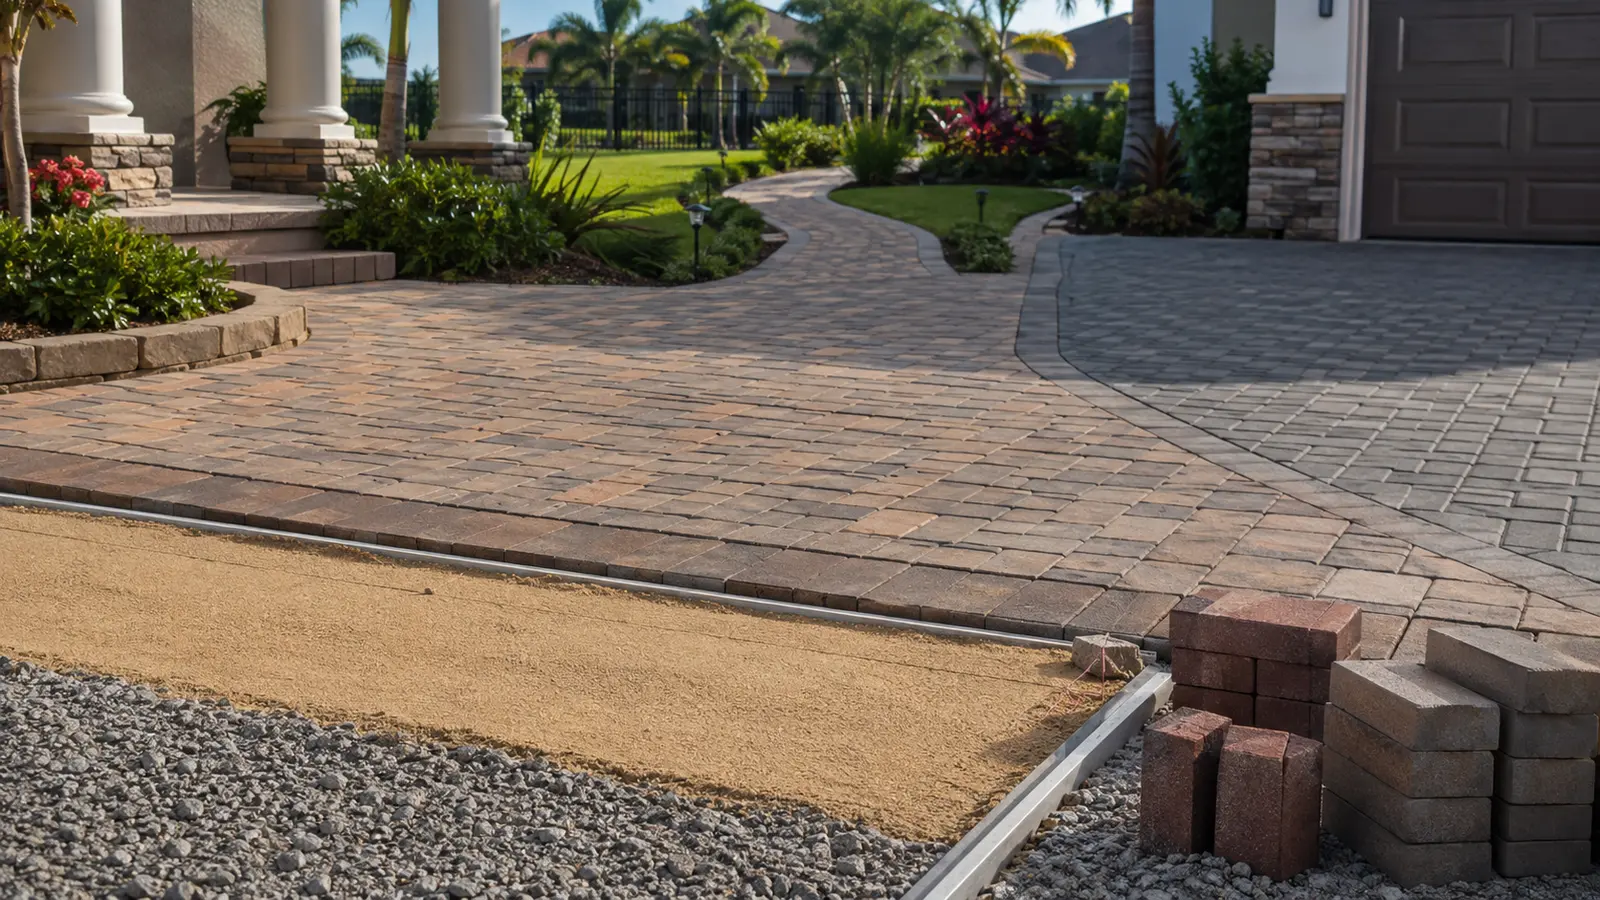
Moisture is one of the most important variables in paver sealing because it affects adhesion, clarity, evaporation, film formation, and the time required before a surface can safely return to service. A driveway can look dry on top while water remains in the joints, bedding layer, low areas, or porous pavers. Humid air can also slow evaporation or allow dew to form after the crew leaves. The result may be sealer that stays tacky, develops a cloudy or white appearance, bubbles, loses adhesion, or cures unevenly.
This guide explains how to control moisture before, during, and after application. It is the hub for our field guides on applying paver sealer in hot or humid weather, diagnosing paver sealer that is not drying, and correcting cloudy, white, or milky sealer.
Moisture control is a system, not a waiting-time guess
A fixed rule such as “wait 24 hours” cannot account for every project. Drying time changes with paver porosity, joint depth, drainage, shade, temperature, relative humidity, airflow, cleaning method, rainfall, irrigation, and the amount of water introduced during sanding. Product chemistry matters too. Some water-based products may be designed for application to a visibly damp—but never saturated—surface, while other coatings require the substrate to meet a specific moisture condition. The current product label and technical data sheet control.
The practical question is not simply how long the pavers have been sitting. It is whether the entire installation has released enough water for the selected sealer to penetrate, coalesce, adhere, and cure as designed. That requires observation and testing at the project, not a calendar alone.
Where moisture hides in a paver installation
- Paver pores: Porous concrete and clay units can hold water below a dry-looking surface.
- Joint sand: Deep joints dry more slowly than the exposed paver face, especially after pressure washing or polymeric-sand activation.
- Bedding material: Water can remain below the pavers where air and sunlight cannot reach it.
- Low areas and edges: Depressions, borders, coping, and poorly drained sections may stay wet after the main field looks ready.
- Old coating: A previous film can slow vapor release and make surface appearance an unreliable moisture indicator.
- Air: High relative humidity reduces evaporation, while overnight cooling can bring the surface close to the dew point.
- Automatic irrigation: Overspray or runoff can rewet a prepared surface without being noticed.
Dry to the touch is not the same as ready to seal
A surface may feel dry because the top fraction of the paver has warmed in the sun. Water can still migrate upward after coating, especially when the surface cools or the sun moves away. That vapor may interfere with a curing film and create whitening, bubbles, pinholes, weak adhesion, or localized dark and light areas.
Inspect representative locations rather than the easiest area. Check shaded zones, joints, borders, low spots, pool coping, areas near downspouts, and sections beside landscaping. Compare conditions across the entire work area. A small test panel in the least forgiving location is more useful than testing only a warm, open section.
A field-ready pre-application moisture checklist
- Confirm the substrate and old coating. Concrete pavers, clay brick, decorative concrete, and natural stone absorb and release water differently. Identify any existing topical sealer before adding another film.
- Review the current technical data. Verify the acceptable surface condition, temperature range, humidity limitations, recoat window, rain-free interval, and return-to-service requirements for the exact product.
- Control new water. Disable irrigation, protect the work from runoff, and postpone the job when rain could affect preparation, application, or early cure.
- Inspect the slowest-drying areas. Look at joints, shade, low sections, edges, and previously coated areas.
- Use an appropriate moisture test. Follow the sealer manufacturer’s recommended method. A handheld meter, plastic-sheet observation, or other field test has limitations and must be interpreted for the material being tested.
- Apply a test area. Confirm appearance, absorption, leveling, and initial cure before committing the entire surface.
- Document conditions. Record air and surface temperature, relative humidity, weather, lot numbers, dilution or mixing information, and application rate.
Humidity, dew point, and surface temperature
Relative humidity describes how much moisture the air holds compared with the maximum it could hold at that temperature. Dew point is the temperature at which moisture begins to condense. When a paver surface approaches the dew point, invisible moisture can become a thin film of condensation. This can occur late in the day even when there was no rain.
That is why application decisions should consider the full curing window, not just conditions at the first roll or spray pass. A coating placed on a hot afternoon may still be vulnerable when temperature falls and humidity rises after sunset. The detailed hot- and humid-weather application guide explains how crews can reduce that risk with smaller sections, shade planning, condition monitoring, and realistic stop times.
Cleaning, rinsing, and joint-sand moisture
Preparation introduces water intentionally. Pressure washing drives water into joints and pores; repeated rinsing adds more; and joint material can retain moisture below the surface. Effective preparation therefore includes a drying plan. Clean early enough to allow the whole assembly—not merely the paver face—to reach the product’s required condition.
If fresh sand is installed, follow the sand and sealer manufacturers’ compatible sequence. Polymeric sand requires controlled activation and a complete cure before many sealers can be applied. Conventional joint sand does not use the same binder, but wet joints can still release moisture into a coating. Our pressure-washing guide and joint-sand selection guide cover those preparation variables in greater depth.
Dry time, recoat time, cure time, and return to service
These terms are related but not interchangeable:
- Dry to touch means the surface no longer transfers material during a light touch under stated conditions.
- Recoat time is the window when another coat can be applied according to the product instructions.
- Light-foot-traffic time indicates when limited pedestrian use may begin.
- Vehicle or heavy-service time is typically longer because heat, turning tires, weight, water, and chemicals stress the film.
- Full cure is when the coating has developed its intended properties. It can continue after the surface first feels dry.
Do not accelerate use because the coating looks clear or feels firm at one test point. Follow the longest applicable interval in the current instructions and extend protection when cool, humid, shaded, or poorly ventilated conditions slow the process. If the surface remains soft or tacky beyond the expected range, use the not-drying diagnosis guide before allowing traffic or adding another coat.
Rain and irrigation after sealing
Early water exposure can disturb a coating before it has formed a stable film. The visible effect may be spotting, whitening, wash marks, loss of gloss, or uneven cure. The absence of an immediate mark does not prove the film is ready for service. Protect the area for the full rain-free interval stated by the manufacturer, and remember that sprinklers, pool splash, roof runoff, condensation, and vehicle water can be as disruptive as a storm.
If unexpected rain occurs, stop traffic and allow the surface to stabilize. Document when the product was applied, when water arrived, and how conditions changed. Do not automatically add sealer, solvent, or heat. The correct response depends on whether the film is only wet, has blushed, has lost adhesion, or remains uncured.
How moisture-related symptoms differ
| Symptom | Possible moisture connection | Other causes to rule out |
|---|---|---|
| Slow or tacky cure | High humidity, low temperature, trapped substrate moisture, or early water exposure | Heavy application, contamination, incompatible old coating, incorrect mixing, expired material |
| Cloudy or milky film | Moisture trapped in or beneath a film; rain or dew during early cure | Overapplication, cleaner residue, worn coating, surface salts |
| White powder or crystals | Water moving soluble salts to the surface | Cleaner residue, dust, sanding residue |
| Bubbles or pinholes | Vapor or air escaping through a curing film | Aggressive rolling, hot porous pavers, foaming, excessive film build |
| Peeling | Moisture pressure or chronic water exposure can weaken adhesion | Incompatible coating, poor cleaning, excessive build, weak old sealer |
A white appearance is not a diagnosis by itself. Efflorescence on the paver surface requires a different correction from moisture trapped inside a topical film. The white and cloudy sealer guide provides a step-by-step identification and repair process.
When to stop and request technical support
Stop before recoating when the film is soft, milky, bubbling, peeling, or inconsistent across the project. Collect the exact product name, batch or lot number, substrate, old-sealer history, cleaning chemicals, application rate, number of coats, timestamps, temperature, humidity, rain or irrigation exposure, and clear photographs. That information allows technical support to distinguish a drying delay from a compatibility failure or repair condition.
The Paver Sealer Store product catalog organizes sealer systems by surface and finish, but final selection still depends on the project’s moisture condition and existing coating. When those variables are uncertain, test first and ask for product-specific guidance before coating the full area.
Moisture and curing field questions
Can pavers be sealed the same day they are cleaned?
Only when the exact sealer permits the verified surface condition and the complete installation has released enough water. Same-day capability does not mean coating saturated joints, puddles, active runoff, or standing water. Cleaning method, porosity, drainage, humidity, and the product instructions determine readiness.
Does direct sun prove the pavers are dry?
No. Sun can dry and heat the exposed face while water remains in joints, pores, bedding, shade, or low areas. Check the slowest-drying locations and use the manufacturer’s appropriate moisture-verification method.
Should a curing surface be covered before rain?
Improvised coverings can touch or mark the film, trap condensation, restrict ventilation, or direct runoff onto the work. Plan a compliant rain-free window instead. If temporary weather protection is contemplated, obtain product-specific direction and design it so it does not contact or enclose the curing surface.
The field rule that prevents most moisture failures
Do not seal because the schedule says the surface should be ready. Seal only after the substrate, joints, old coating, weather, and selected product all support a controlled application and cure. That discipline protects clarity, adhesion, appearance, and return-to-service performance more effectively than any single waiting-time rule.