Polymeric sand is a blend of fine sand and binding agents that hardens when wet. When installed correctly, it keeps paver joints stable, reduces weeds, prevents ant tunnels, and improves the overall look of your patio, walkway, or driveway.
This guide covers:
- What polymeric sand is
- Pros & cons
- How to install it correctly
- How to fix common mistakes
- When to use regular joint sand instead
- How sealing affects polymeric sand
To install polymeric sand, sweep it into paver joints, compact it, remove dust, and lightly mist with water to activate the binding agents. Allow 24–48 hours to dry before traffic.
🧱 What Is Polymeric Sand?
Polymeric sand is a stabilizing joint material made from:
- Fine sand
- Silica binders
- Polymers that harden with water
Once activated, it forms a firm yet flexible joint.
⭐ Pros and Cons of Polymeric Sand
✔ Pros
- Prevents weed growth
- Reduces ant hills
- Resists erosion
- Creates firm joint structure
- Enhances appearance
- Long-lasting
✘ Cons
- Can haze pavers if misapplied
- Requires gentle, even watering
- Must be installed on completely dry pavers
🡆 Fix haze guide: Fixing Cloudy or White Pavers After Sealing (works for polymeric haze too)
🧰 Tools Needed
- Broom
- Plate compactor or rubber mallet
- Shop vacuum or leaf blower
- Garden hose with fine mist setting
- Polymeric sand of choice
🔧 How to Install Polymeric Sand (Step-by-Step)
1. Clean Pavers Thoroughly
Remove:
- Dirt & debris
- Old joint sand
- Weeds
- Organic material
Use TPSS Paver Cleaner & Degreaser for best prep.
🡆 Cleaning guide: How to Clean Pavers Without a Pressure Washer
2. Ensure Pavers Are Completely Dry
Moisture at this stage ruins polymeric sand.
Dry time: 24–48 hours before installation.
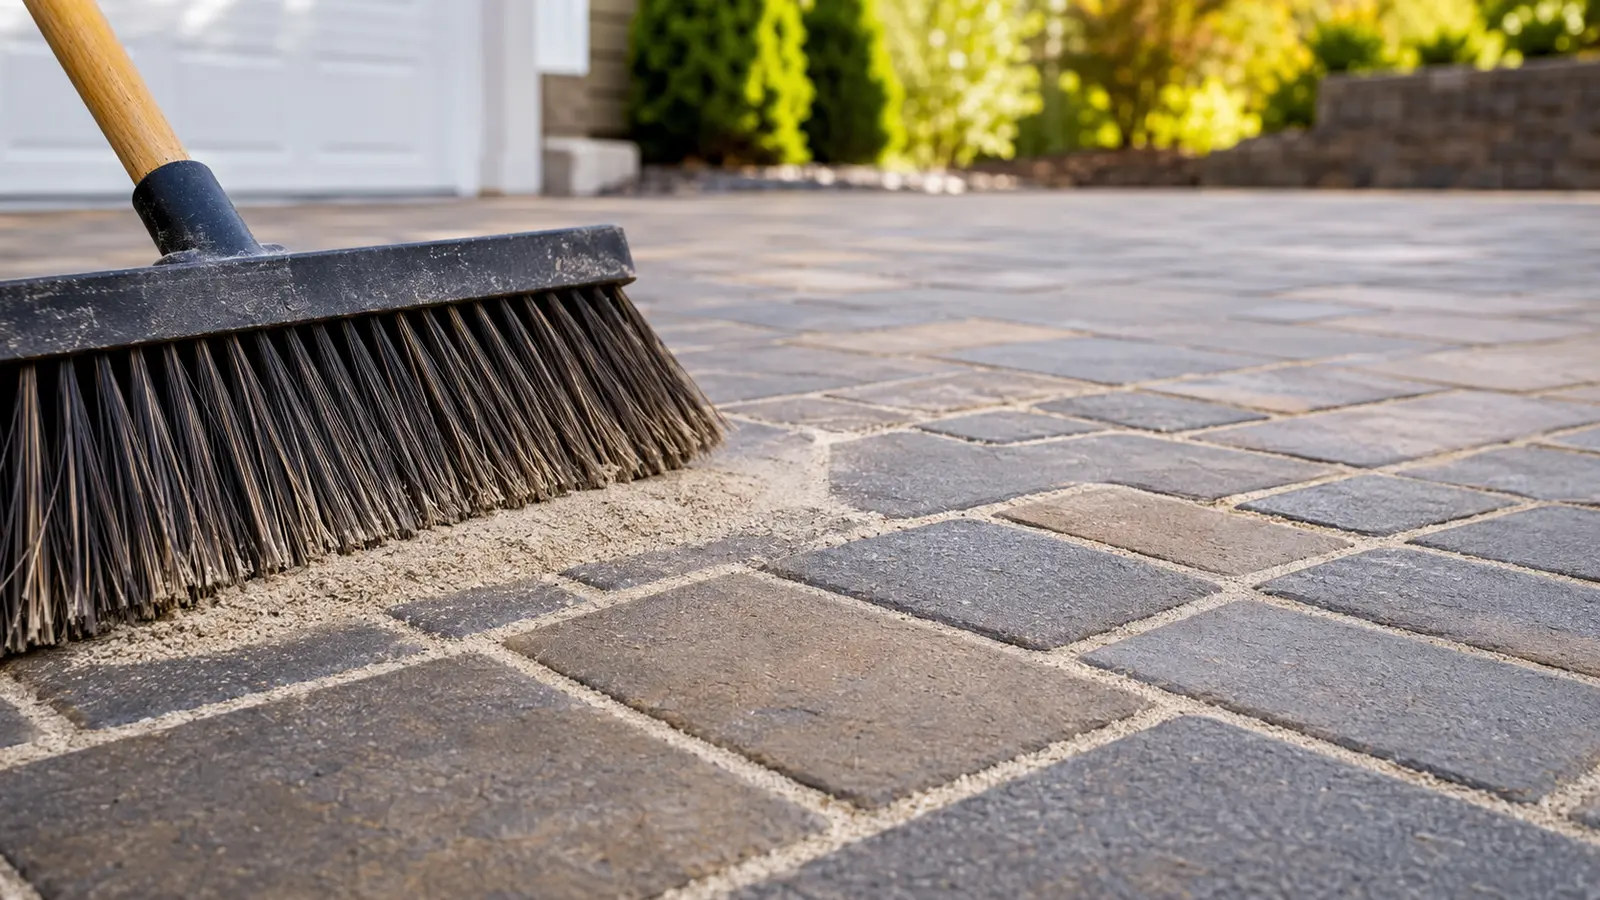
3. Sweep Polymeric Sand Into Joints
Use a broom to fill all joints completely.
Tips:
- Move sand diagonally across joints
- Pack joints to eliminate air pockets
- They should be filled to within 1/8″ of the paver edge
4. Compact the Pavers
This pulls sand deeper into joints.
Use:
- Plate compactor (best), or
- Rubber mallet for stone/travertine
Add more sand if joints drop during compaction.
5. Remove ALL Sand Dust From the Surface
This is the most important step to prevent haze.
Use:
- Leaf blower (low speed)
- Soft broom
- Shop vacuum for edges
No sand should remain on the top surface.
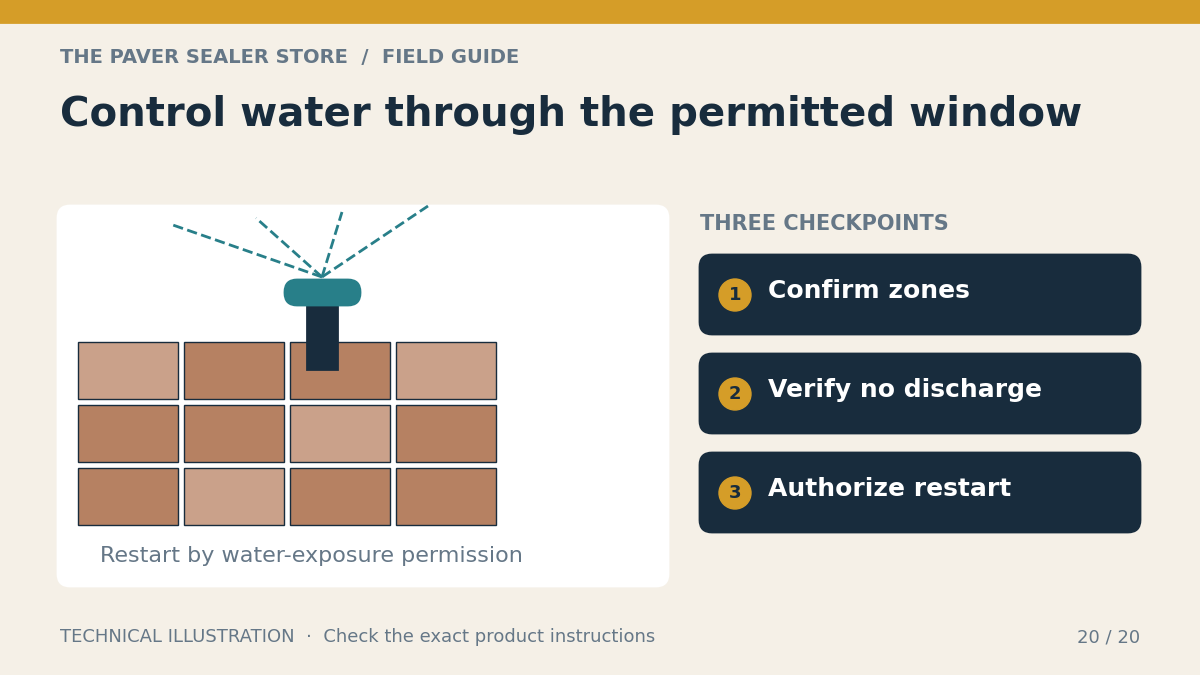
6. Activate Sand by Watering (Light Mist Only)
The watering must be:
- Gentle
- Even
- In multiple passes
Watering Schedule:
- Mist lightly for 10–15 seconds
- Wait 2–3 minutes
- Repeat 2–3 times
Do NOT flood the pavers.
7. Allow Sand to Cure
Dry time:
- Foot traffic: 24 hours
- Vehicle traffic: 48–72 hours
Keep the area free from:
- Rain
- Irrigation
- Sprinklers
🛑 Common Polymeric Sand Problems (And How to Fix Them)
❌ 1. Polymeric Sand Haze (White Film on Pavers)
Caused by:
- Not removing sand dust before wetting
- Overwatering
- Sand with too much binder
Fix:
- Use mild cleaning first
- If stubborn → pressure wash
- Severe cases → strip & reseal
🡆 Related guide: Fixing Cloudy or White Pavers After Sealing (2025 Troubleshooting Guide)
❌ 2. Soft or Crumbling Joints
Caused by:
- Not enough water
- Too much water
- Joints not fully filled
Fix:
- Remove loose sand
- Refill joints
- Re-mist correctly
❌ 3. Sand Washout After Rain
Caused by:
- Improper watering
- Early rain exposure
- Using cheap sand brands
Fix:
- Refill and re-compact joints
- Protect from moisture for 48 hours
❌ 4. Weeds Growing Through Sand
Caused by:
- Shallow joints
- Erosion
- Poor-quality sand
Fix:
- Remove weeds
- Refill joints with polymeric sand
- Seal the surface for added protection
🡆 Maintenance:Annual Paver Maintenance Checklist (2025 Guide)
❌ 5. Ant Hills
Occurs when joints are not compacted tightly.
Fix:
- Add more sand
- Re-compact
- Mist slowly to activate binders
🛡️ Should You Seal Pavers After Polymeric Sand?
YES — sealing provides:
✔ Color enhancement (wet look or high gloss)
✔ Water repellency
✔ Additional joint hardening
✔ Protection from stains
✔ UV fade resistance
Best Sealers For Use Over Polymeric Sand:
- TPSS High Gloss Urethane Sealer
- TPSS Wet Look Urethane (Low Gloss)
- TPSS Penetrating Sealer (for natural stone)
🡆 See sealers: Best Paver Sealers of 2025 (Wet Look, High Gloss & Natural)
🧩 Polymeric Sand vs Regular Joint Sand
| Type | Pros | Cons |
|---|---|---|
| Polymeric Sand | Hardens, prevents weeds/ants, longest-lasting | Requires careful install |
| Regular Sand | Cheap, easy to install | Washout, weeds, ants, no stability |
Use regular sand only for:
- Low-budget installs
- Light foot-traffic areas
- Natural stone that requires free drainage
Read more:
- Fix cloudy or hazy pavers →
- How to clean pavers before installing sand →
- Best paver sealers to protect polymeric sand →
- How to seal pavers correctly →
- Annual paver maintenance checklist →
- Stain removal before sealing →
❓ Frequently Asked Questions (FAQs)
Is polymeric sand better than regular sand?
Yes — it hardens when activated, resists weeds, prevents ants, and lasts much longer.
Why does polymeric sand turn white or hazy?
Leftover dust on the paver surface or overwatering during activation.
How long does polymeric sand last?
Typically 5–10 years depending on traffic and weather.
Can you pressure wash polymeric sand?
Yes, but high pressure can erode joints. Use a fan tip and maintain distance.
Should I seal after using polymeric sand?
Absolutely — sealing locks sand in place and prevents erosion.