A one-day paver sealing system is possible only when the selected products, weather, substrate, cleaning load, joint work, and moisture condition all support it. “Same day” is not permission to rush a saturated, contaminated, unstable, or poorly rinsed surface. The job must be designed backward from the sealer’s written moisture and application limits, with a stop point whenever cleaning, drying, repair, sand, or weather falls outside the specification.
Use the surface-preparation hub to build the cleaning specification, the Ultimate Surface Prep application guide for measured cleaning, the joint-sand guide for stabilization, and the moisture and curing guide before scheduling same-day work.
One-Day Does Not Mean Every Sealer
Some water-based paver-sealer systems are designed for controlled application while the cleaned surface remains damp, provided there is no standing water and all other requirements are satisfied. Other water-based, solvent-based, penetrating, epoxy, urethane, acrylic, and specialty products require a dry substrate or a specific measurable moisture condition. Never transfer damp-application guidance between products because they share a carrier or resin name.
Ultra Seal Classic Gloss Wet Look Paver Sealer is the store’s current two-component water-based urethane system positioned for same-day clean-and-seal work under suitable conditions. Read its current label and technical guidance for mixing, surface condition, weather, pot life, coats, coverage, traction, and cure. Product compatibility does not override standing water, active rain, contaminated joints, loose sand, or unresolved moisture movement.
Go/No-Go Conditions Before Scheduling
| Condition | Go when | Stop or reschedule when |
|---|---|---|
| Coating history | Surface is unsealed or compatible with the selected system, confirmed by testing | Unknown, whitening, peeling, soft, incompatible, or patchy existing film remains |
| Contamination | Soil and identified stains can be removed and rinsed within the planned window | Heavy oil, paint, failed sealer, recurring salts, or specialty stains need additional treatment |
| Repairs | Pavers are stable and required repairs are complete and ready | Low areas, rocking units, drainage defects, fresh patching, or joint repair cannot be completed properly |
| Moisture | No standing water and the actual dampness meets the exact sealer specification | Joints are flooded, low spots hold water, the base is saturated, or the product requires dry application |
| Weather | Temperature, humidity, wind, sun, and rain window meet the product limits through cure | Storm risk, dew, excessive heat, cold, wind, or humidity threatens application or cure |
| Joint sand | Correct sand is available, installed uniformly, and surface excess is removed | Sand is muddy, overfilled, contaminated, incompatible, or cannot be made uniform |
| Test area | Cleaning and sealing tests show acceptable color, adhesion, cure, and traction | Test shows haze, uneven color, foaming, residue, poor wetting, or slow cure |
Plan the Day Backward From the Sealer Window
- Confirm the forecast and jobsite exposure. Include shade, sun, wind, dew, irrigation timers, pool use, vehicle access, and the full rain-free cure window.
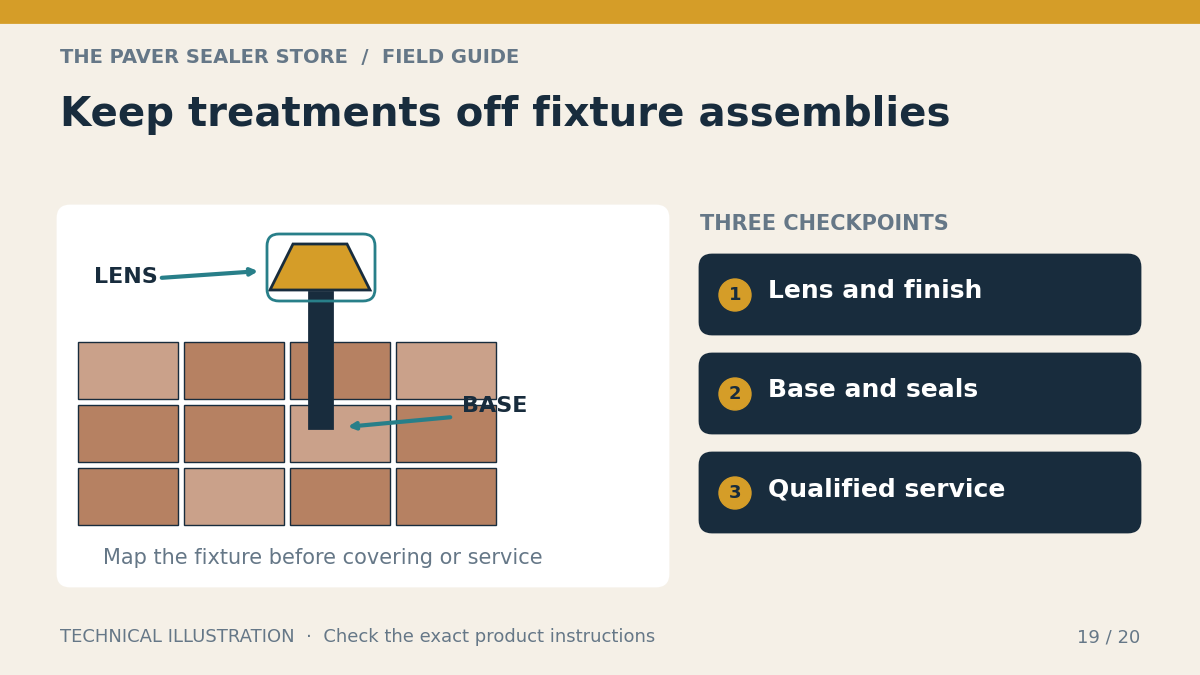
- Stage protection and recovery. Cover or isolate glass, metals, landscaping, pools, drains, doors, vehicles, adjacent property, and runoff paths before cleaning begins.
- Divide the project into controlled sections. Size each section so cleaner can be mixed, applied, dwelled, agitated, rinsed, inspected, and kept from drying.
- Set the latest acceptable sealing start. Work backward through cleaning, rinse, inspection, repairs, sand, and moisture checks. If a stage slips past the limit, reschedule instead of compressing cure or preparation.
- Prepare a stop-work record. Define who can stop the job for active rain, recurring efflorescence, unexpected coating, standing water, failed test, chemical reaction, or insufficient time.
Step 1: Inspect, Protect, and Dry-Clean
Photograph existing stains, repairs, joint loss, drainage, coating, and damage. Sweep or vacuum loose debris, remove vegetation, and clear drain inlets. Mark oil, rust, efflorescence, biological growth, paint, and failed sealer separately. If an old coating must be removed, the project is no longer a routine one-day cleaning job; follow the sealer-stripping procedure.
Step 2: Treat Specialty Stains
Handle oil, irrigation rust, fertilizer, leaf tannin, algae, mineral scale, and efflorescence with compatible products and separate tests. The rust and mineral stain guide explains why white deposits, orange irrigation bands, and sealer haze cannot share one diagnosis. Correct the source before cleaning so the surface does not immediately restain.
Step 3: Apply Ultimate Surface Prep as Specified
Ultimate Surface Prep is the store’s current synthetic-acid pre-seal cleaner. Its online directions specify one part product with ten parts water, two to three minutes of dwell, pressure washing, and thorough rinsing, with repeat application for heavy staining when needed. The page warns against glass contact.
Read the current label and safety data, measure every batch, use compatible equipment and PPE, protect adjacent materials, control overspray and dwell, and keep cleaner from drying. Never mix it with bleach, ammonia, caustic, another acid, solvent, or unknown cleaner. Complete the full application procedure rather than treating a downstream injector as automatic dilution control.
Step 4: Rinse, Recover, and Inspect
Rinse from controlled high points toward planned recovery without carrying slurry across clean sections. Flush texture, chamfers, edges, joints, borders, steps, and low areas. Keep chemical and contaminated rinse water out of pools, storm drains, soil, landscaping, neighboring property, and water bodies. The surface should not have foamy, slippery, powdery, oily, or discolored residue after the final rinse.
Inspect while wet for water flow and again as the surface changes color. A dark wet patch may simply be damp; a shiny, sticky, or water-repellent patch may indicate coating or contamination. White material that returns during drying may indicate active efflorescence and should trigger a stop.
Step 5: Repair and Install Joint Sand
Reset loose or sunken units and correct conditions that can be repaired within the system. Install the specified fractured angular joint sand at the correct depth and keep the paver face, chamfers, and edges free of excess. Sand should not be mudded into saturated joints or overfilled onto the wearing surface. Review the joint-stabilization guide for cleaning depth, sand selection, placement, and sealer loading.
Step 6: Verify Moisture and Apply the Sealer
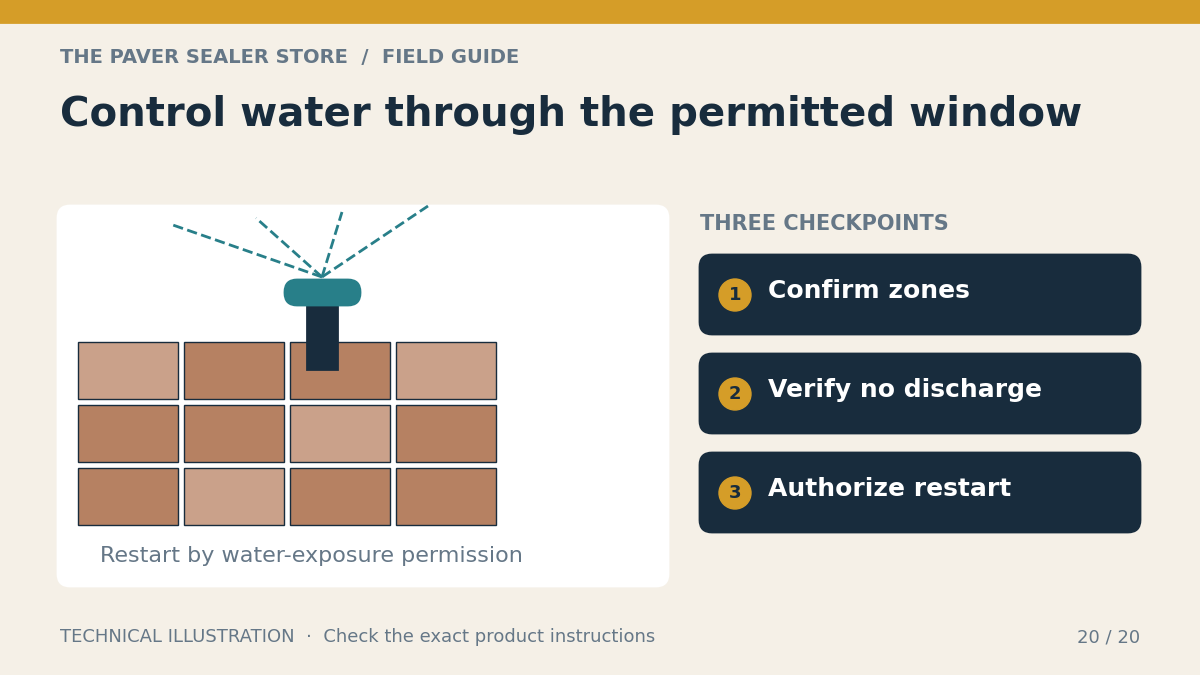
Use the chosen sealer’s acceptance standard. “Damp apply” should mean the exact condition allowed by that product—not standing water, a saturated assembly, active rain, or water moving out of joints. Check the coolest, shadiest, lowest, and most heavily rinsed areas, not only the sunny center.
Mix only the quantity that can be applied within pot life. Control coverage, overlap, joint loading, backrolling or spray technique, coat interval, and traction additive according to the product. Keep vehicles, irrigation, furniture, pets, foot traffic, and rain off the area for the full cure window.
Final One-Day Quality Check
- Cleaner and specialty stain products were used at documented label rates.
- No residue, slurry, loose coating, active efflorescence, standing water, or excess face sand remains.
- Repairs and joints are uniform and ready for the selected system.
- Weather and moisture match the sealer’s written limits.
- The test area and first production section show uniform wetting, color, film, and cure.
- The cure area is protected through the required traffic and rain window.
One-Day Sealing FAQ
Can every paver driveway be cleaned and sealed in one day?
No. Existing coatings, severe staining, repairs, recurring salts, drainage, saturated bases, weather, large square footage, and dry-surface sealers can require more time.
Can I seal while joints still hold water?
Only if the exact sealer specification permits that actual moisture condition, and never over standing water or a saturated, unstable assembly. Inspect representative joints and low areas.
What is the most important same-day decision?
Knowing when to stop. A rescheduled sealing step costs less than trapping contamination or moisture beneath a coating that must later be repaired or stripped.
A professional one-day system is a controlled specification, not a promise made before inspection. Confirm the complete process, stage the site, document go/no-go limits, and let the sealer requirements—not the calendar—control the final application.