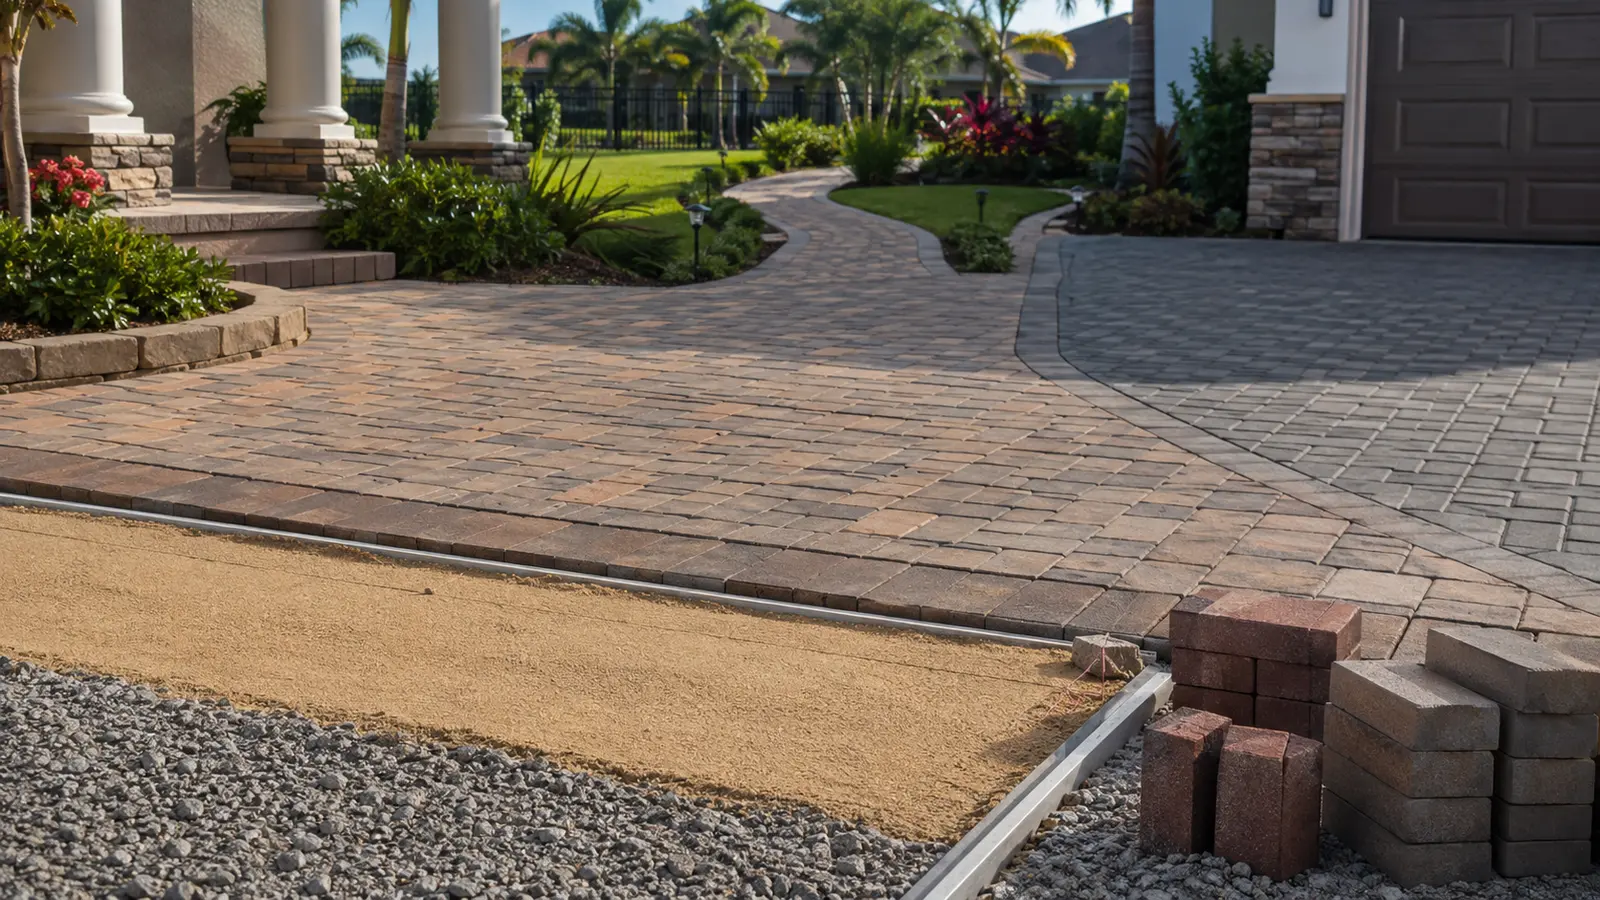
A driveway paver sealer must handle a combination of vehicle weight, warm tires, oil and fluid exposure, turning forces, full sun, irrigation, and weather. That makes driveway work less forgiving than sealing a lightly used decorative patio. The correct system begins with the condition of the existing surface and coating, then balances finish, joint stabilization, traction, cure time, and future maintenance.
This driveway guide is part of the Florida paver-sealer hub. Compare related requirements in the guides for patios, pool decks, commercial pavement, and brick pavers.
What a Driveway Sealer Must Do
- Limit absorption: Reduce how quickly water, soil, and automotive contamination enter compatible pavers.
- Maintain adhesion: Remain bonded through heat, rain, cleaning, and normal vehicle use.
- Support the joint system: Where specified, penetrate and stabilize properly prepared joint sand.
- Preserve usable traction: Gloss and color enhancement should not create an unreasonably slick driving or walking surface.
- Allow practical maintenance: The owner should be able to clean the surface and plan future recoating without starting over after every service cycle.
Start With the Existing Coating
Driveways often contain more coating history than the owner realizes. Protected edges may retain an old acrylic film even when the center looks bare. Look for uneven gloss, tire pickup, peeling, whitening, solvent sensitivity, and water-beading differences. Installing urethane or another film over an unknown, weak, or incompatible layer transfers the new coating’s performance to the old coating’s adhesion. If the underlying film releases, the new system releases with it.
Use a small test area to verify cleaning, color, adhesion, and cure. If the old coating is failing, correct it before resealing. A pressure washer can remove loose contamination, but it is not a substitute for stripping a chemically resistant failed film.
Wet Look, High Gloss, or Natural Finish?
| Finish | Driveway advantage | Tradeoff |
|---|---|---|
| Natural dry look | Minimal appearance change and breathable protection on compatible masonry | Does not create a glossy film or stabilize loose joints |
| Wet look | Restores color and provides a visible protective film | Preparation, moisture, thickness, and traction require control |
| High gloss | Maximum sheen and color contrast | Surface defects and application inconsistency are more visible |
The wet-look versus natural-finish guide explains the differences in appearance, breathability, joint stabilization, and maintenance. For an overall chemistry decision, use the paver-sealer selection guide.
Driveway Preparation Sequence
- Protect the property. Cover or isolate sensitive surfaces, manage runoff, and prevent wash water from entering unwanted areas.
- Treat stains first. Oil, rust, fertilizer, leaf tannins, and tire residue need the appropriate cleaner and realistic expectations. Sealer can deepen the appearance of stains that remain.
- Clean evenly. Use the pressure-washing guide to avoid striping, etching, and unnecessary joint loss.
- Rinse completely. Cleaner residue can interfere with adhesion and appearance.
- Restore joints. Remove unstable material, add compatible sand, and compact as required. Follow the joint-sand selection guide.
- Verify dryness. Check shaded joints, low areas, borders, and the base—not just the sunlit paver face.
Application Without Lap Lines or Tire Problems
Plan each coat around natural stopping points and maintain a wet edge. On hot pavers, sealer can lose open time faster than expected. Work within the label’s surface-temperature range, avoid puddles, and redistribute excess material before it begins to tack. Two controlled coats are not equivalent to one overly heavy coat. Excess film can slow cure, trap moisture, reduce traction, and increase the chance of tire pickup.
Keep vehicles off the surface for the full specified cure period. “Dry to the touch” is not the same as ready for hot tires or turning loads. Cure time changes with film thickness, temperature, humidity, airflow, and moisture in the pavement system.
Product Systems to Evaluate
For a color-enhancing wet-look urethane system with joint-stabilizing capability on compatible pavers, review Ultra Seal Classic Gloss Wet Look Paver Sealer. For a higher-gloss one-component urethane workflow, compare UltraGloss SX. Where a natural appearance is required on compatible concrete or masonry, evaluate a penetrating option such as Ultra Seal Eco Shield. Confirm compatibility with the paver type and every prior coating before application.
Driveway Maintenance
Remove oil and automotive fluids promptly instead of allowing them to remain on the film. Keep irrigation overspray and fertilizer off the pavement where possible. Use cleaners compatible with the installed sealer, and avoid assuming stronger chemicals are safer because the coating has cured. Inspect turning areas, garage approaches, drainage paths, and full-sun lanes more often than lightly trafficked edges.
Final Driveway Checklist
- Identify old sealer and confirm adhesion before recoating.
- Remove contamination and cleaner residue.
- Repair unstable joints and sunken or rocking pavers.
- Choose finish and traction together.
- Measure the area and follow labeled coverage.
- Protect the driveway from rain and vehicles through full cure.
- Document the product and service date for future maintenance.
A reliable driveway finish is the result of correct diagnosis, preparation, coverage, weather planning, and cure—not a heavier coat or a higher sheen alone.